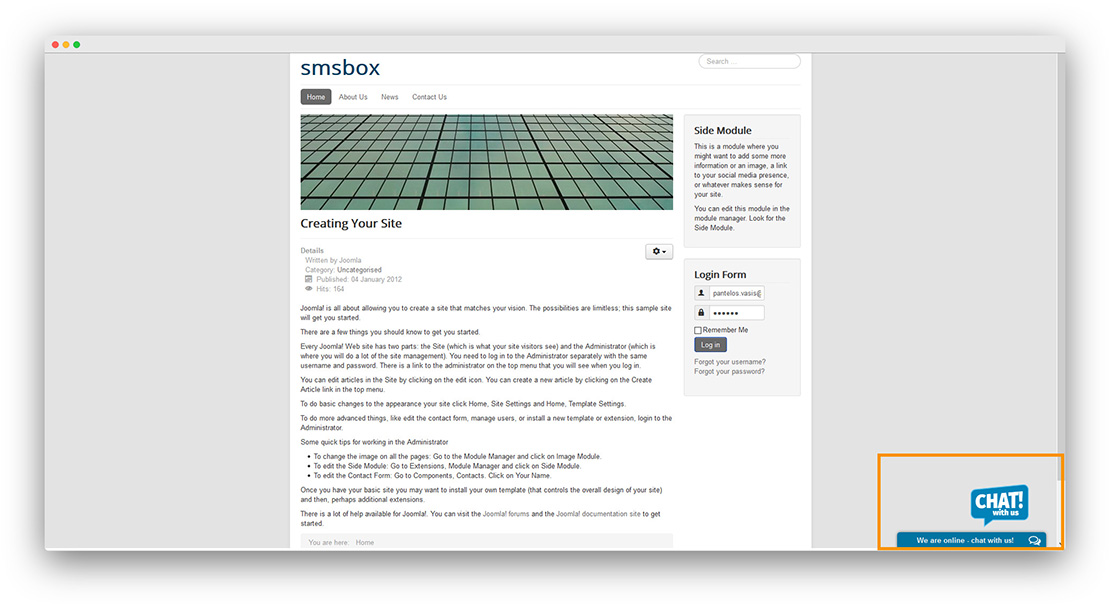
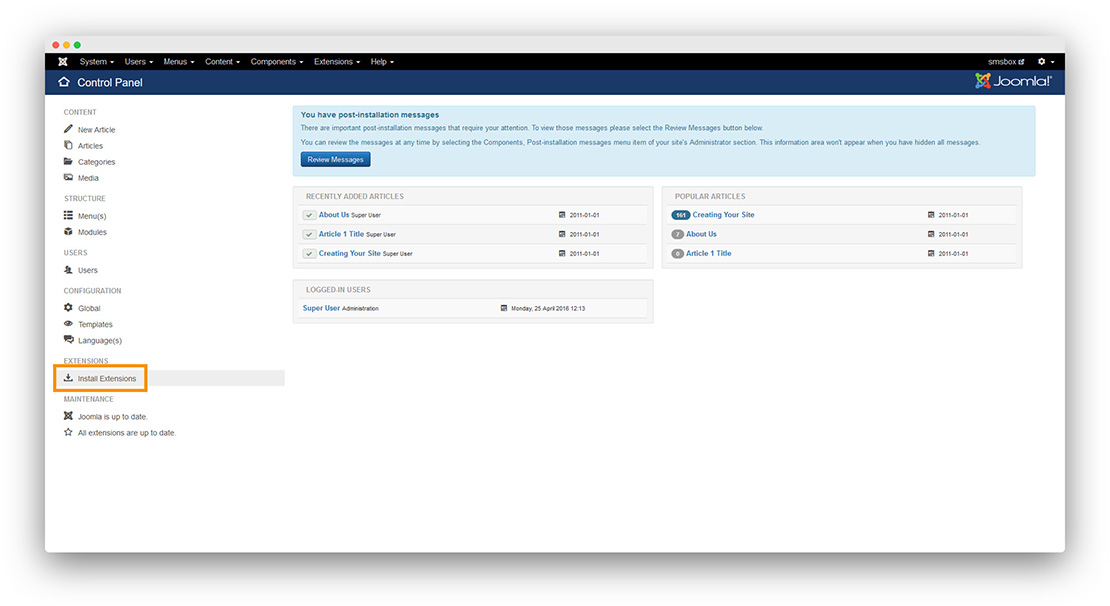
Step 1 In your Joomla administrator, click Install Extensions (or go to Extensions → Manage → Install).
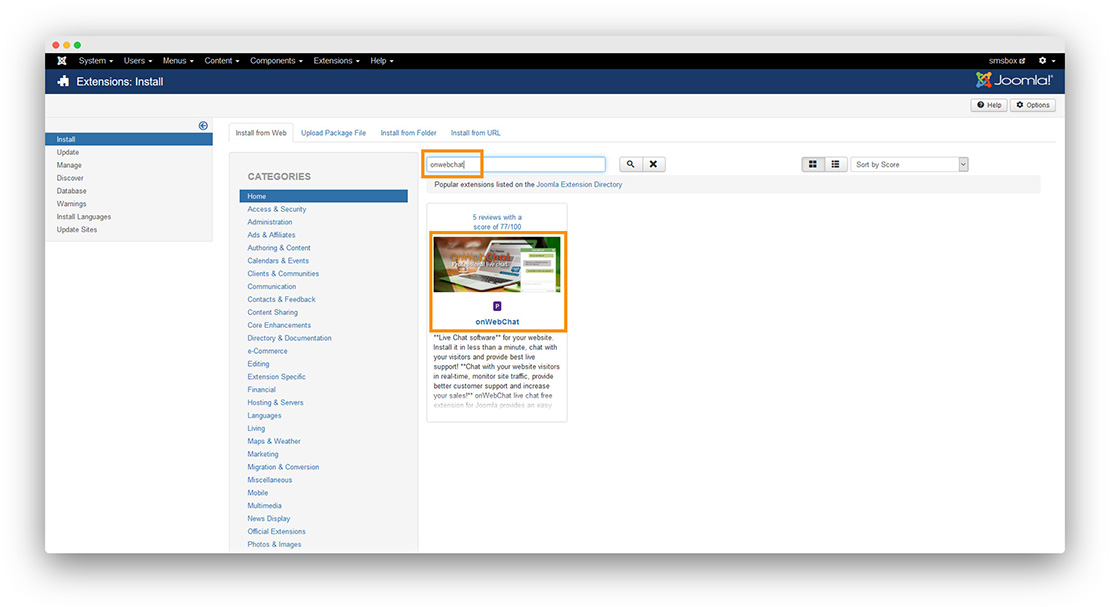
Step 2 Upload the onWebChat extension (.zip) you downloaded above in the Upload Package File tab, or search for onWebChat in the Install from Web tab.
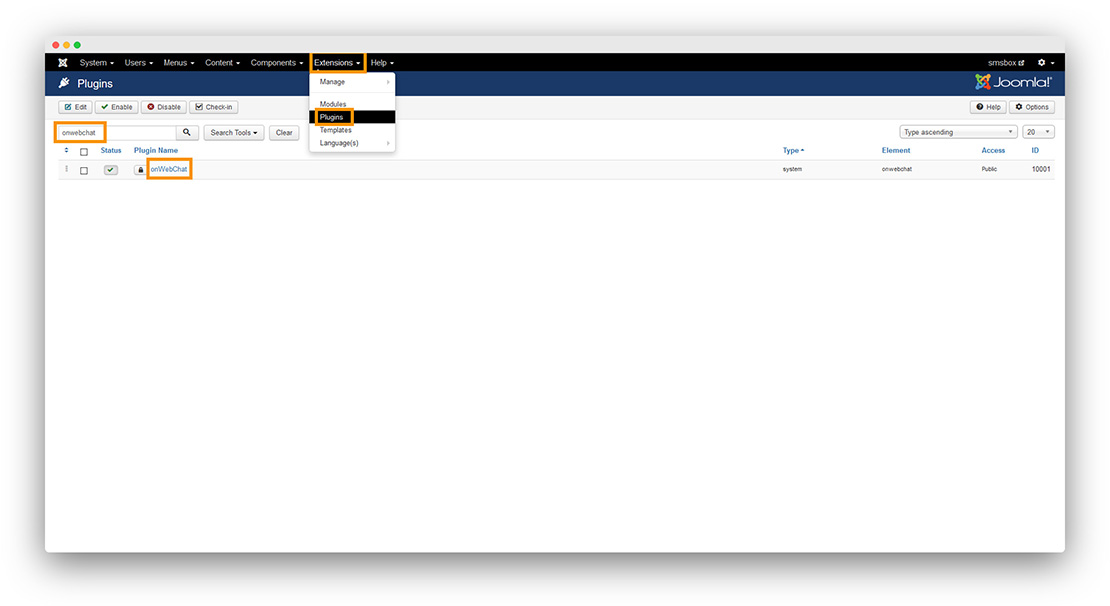
Step 3 Go to Extensions → Plugins, search for onWebChat and click on it.
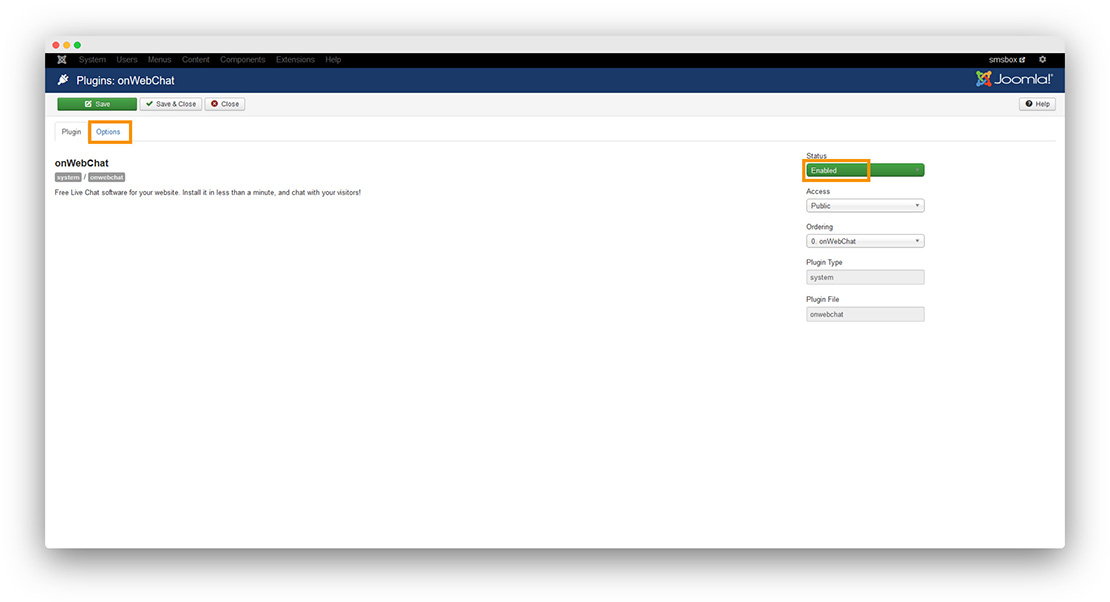
Step 4 Enable the plugin and open the Options tab.
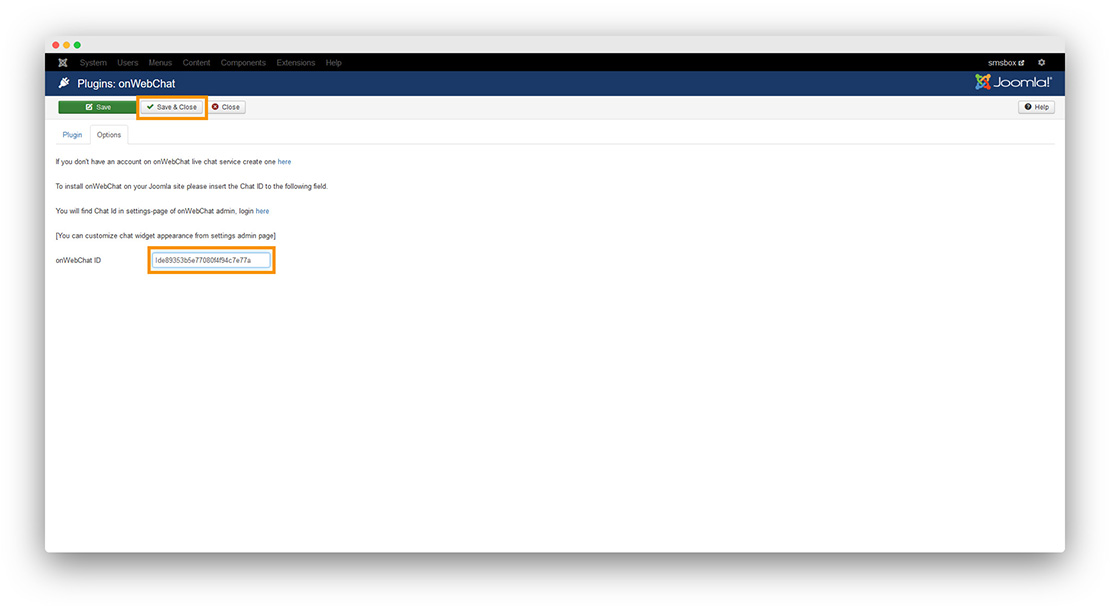
Step 5 Paste your Chat ID and click Save & Close.
Don't have a Chat ID yet? Create a free onWebChat account, then copy your Chat ID from Settings > Widget > Installation in your dashboard.
Done! Your live chat widget is now live on your Joomla site.