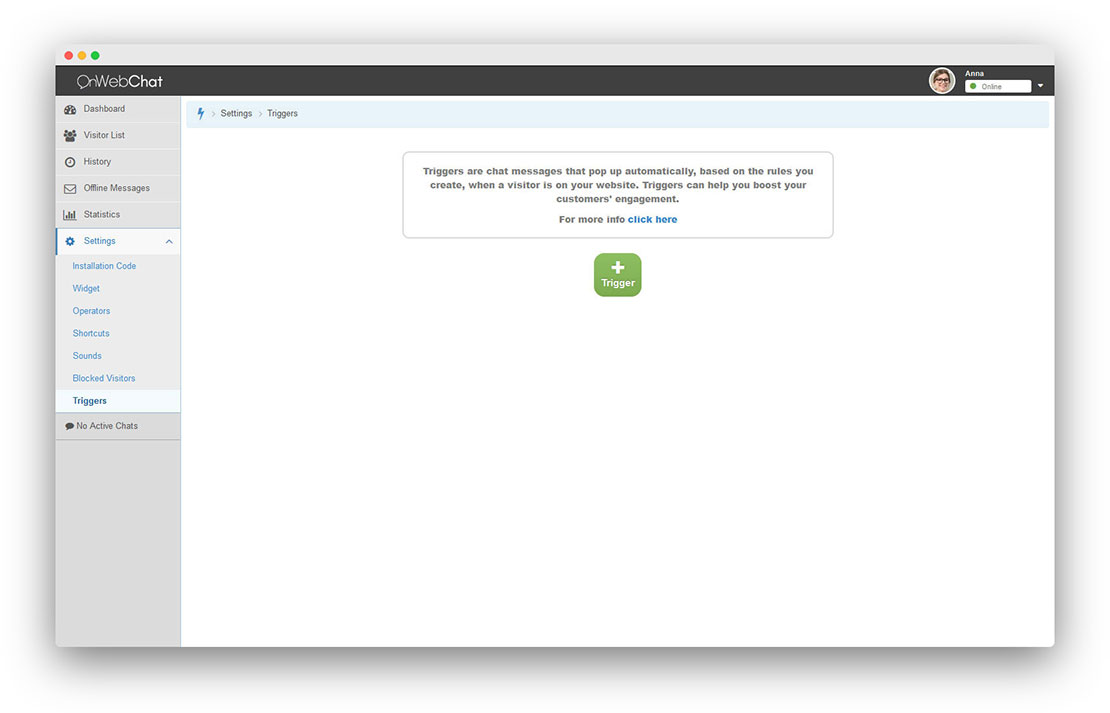
Create a New Trigger
Go to Settings > Triggers and click the green button to create a new trigger.
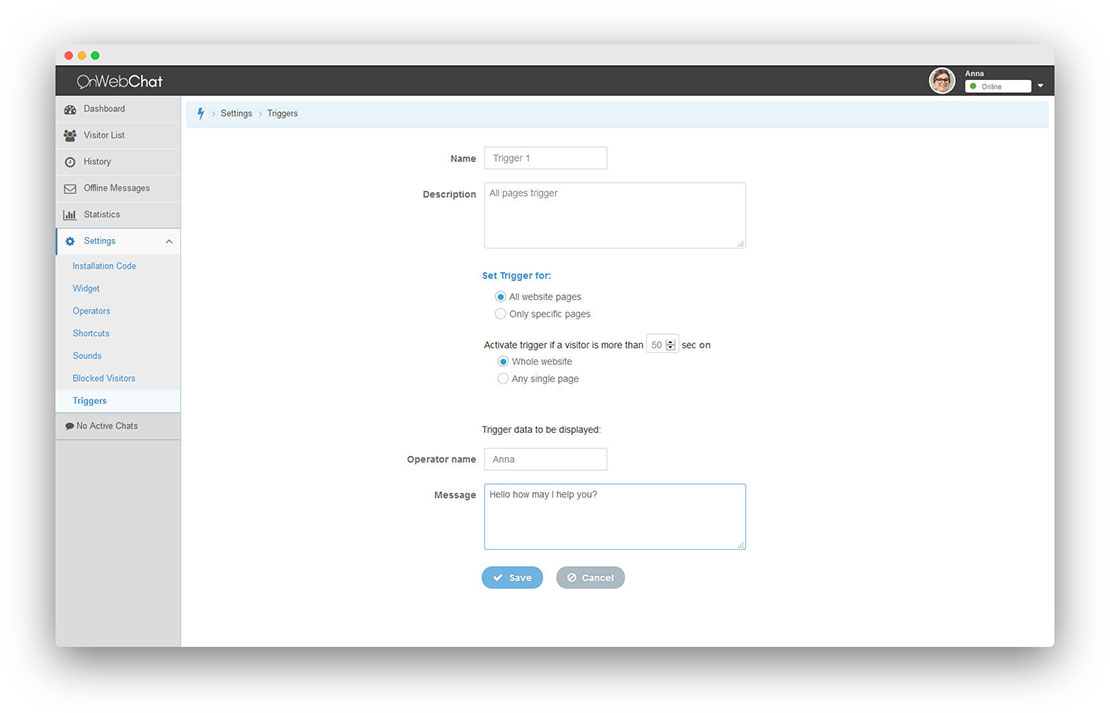
Configure the Trigger
Trigger description: Add a short internal description for easy management.
Page selection: Choose "whole website" or "specific pages." For specific pages, enter the URLs where the trigger should run and set the activation delay (e.g., how many seconds the visitor must stay on the page).
Example: Shipping Page Trigger
For an ecommerce store, you might create a trigger when a visitor spends more than 40 seconds on your shipping page (e.g., order-info.php). Add the page URL, set the timer to 40 seconds, and the widget will open with your preset message. If the visitor replies, an available agent or your AI chatbot can take over.
Whole website uses the total time across all pages. Any single page restarts the timer whenever the visitor navigates to a new page.
Set Agent Name and Trigger Message
Agent name: You can display an agent name above the trigger message. Leave it blank if you prefer to hide the name until an agent joins. Use the {{agent}} variable to display the name from your trigger settings.
Trigger message: Enter the message that appears when the trigger is activated.
Test Your Triggers
A visitor sees at most one trigger per visit. To test updates, open your site in a new tab and clear cookies and session data, or use a private/incognito window. Make sure your chat status is set to "online" so triggers can run.
In Chrome: press F12, open the Application tab, and click "Clear site data." In Firefox: press F12, go to the Storage tab, right-click Cookies and Session Storage, and select "Delete all."